Sweets

two tone holiday cookies

I enjoy being a baker this time of the year, and have done quite a lot of icing cookies. So I wanted to make something a little different this time for a potluck party. Two tone cookies are eye catchers and you can enjoy two taste. I could make chocolate cookies (like last time) but made red velvet instead, it’s more festive isn’t it? I added cocoa powder and food coloring to a regular dough. We can make them in any shape we like to fit any theme, of course- that’s what I love about icing cookies. :) p.s. I bought small cookie cutters at Target and love the tiny snowman etc!

この時期になるとベーカーになる私。今年ももう数回アイシングクッキーを作ったので今回は少しアレンジして2カラーのクッキーにしてみました。クッキーでなくてもいいんだけど持ち運びやすいのでつい又.. 前回同様チョコレートクッキーでもよかったけど赤い方がホリデーっぽいかとレッドベルベットにしてみました。通常の小麦粉の10-15%をココアパウダーに変えて赤のフードカラリングを混ぜました。ミニクッキー型はターゲットで買いました。

人気ブログランキングへ
にほんブログ村 ファッションブログ トレンド情報(ファッション)へ

Thank you so much for your support :)

happy thanksgiving

I made icing cookies again (along with apple pie and chocolate cake). We’re going to have a big dinner with Omar’s family. Stay warm and have a relaxing holiday everyone! Happy Thanksgiving

又アイシングクッキーを作ったよ~。後アップルパイとチョコレートケーキ。今日はアメリカは感謝祭でクリスマス前の大きなホリデー。今夜はオマーの家族が大勢集まるディナーに行ってきます☆

 人気ブログランキングへにほんブログ村 ファッションブログ トレンド情報(ファッション)へ

Thank you so much for your support :)

holiday icing cookies

It’s been a while since I made icing cookies last time. I once again found it’s one of my favorite things to make. It’s fun to create colorful cookies. As these were made for a bake sale, I put two cookies in a bag. I used this sugar cookie recipe as always since it’s easy to make and very tasty. Also used this royal icing and added food coloring for red color. Hope you have a nice holiday season!

ベークセール用にアイシングクッキーを作りました。久しぶりに作ったけどカラフルなアイシングクッキー作りはやっぱり楽しい! 今回はそのまま売れる様にクッキー2つづつ袋に入れてみました。前と同様このレシピを使ってクッキーを作り、スーパーで売ってるこのアイシングで飾りつけをしました(色々試したけどこれが一番使いやすいかな)。赤色は白に食紅を入れて色を調節しました。あっと言う間にもうホリデーシーズンだ〜


 人気ブログランキングへにほんブログ村 ファッションブログ トレンド情報(ファッション)へ

Thank you so much for your support :)

vegan vanilla cupcakes

Today is our one-year anniversary! One year ago today Omar and I went to a city hall to get married (had a wedding a couple month later). I was going to surprise him with this cupcakes, but instead he came home while I was still decorating, haha. Also I tasted them first in front of him, these are still for my best husband. I’ve baked some cupcakes before, but this is one of the best and most importantly Omar likes them. The soy whip cream I tried for the first time was delicious too!

Ingredients : 11/4 cups All purpose flour, 1/2 cup Sugar, 1/2 teaspoon Baking powder, 1/2 teaspoon Baking soda, 1/2 teaspoon Salt, 1 tablespoon Almond poodle, 1 cup Soy milk (or Almond milk), 1 teaspoon Apple Cider Vinegar, 1/3 cup Oil, 2 teaspoons Vanilla Exact

今日は私達の1周年記念日。式を挙げたのは2月だけどちょうど1年前の今日シティーホールで結婚しました。いつも優しいオマーにケーキでサプライズしようと(作ってる最中に帰ってきちゃった上に私が先に味見して全然サプライズにならなかったけど…)喜んでくれてよかった。カップケーキは何度か作ってるけどこれは既に私が半分以上食べてる位すごくお気に入り。ビーガンなので卵もバターも使ってなくアレルギーがある方にもお勧めです。トッピングのクリームは始めてソイホイップを使ってみたけど美味しかった☆

材料:小麦粉 11/4カップ、砂糖 1/2カップ、ベーキングパウダー 小さじ半、ベーキングソーダ小さじ半、塩 小さじ半、アーモンドプードル 大さじ1、豆乳(アーモンドミルク可)1カップ、アップルサイダービネガー 小さじ1、オイル 1/3カップ、バニラエッセンス 小さじ2

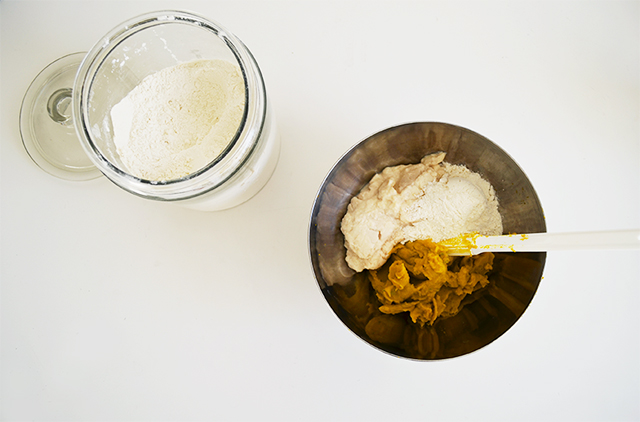
1. Preheat the oven at 350F. In a bowl, mix together the milk and vinegar allowing it curdle. In another bowl sift together the flour, baking powder, baking soda and salt. Stir in the sugar too. 1. オーブンを180Cに温める。豆乳にビネガーを加えとろりとするまで混ぜる。別のボールに小麦粉、ベーキングパウダー、ベーキングソーダ、塩、アーモンドプードル、砂糖を加え混ぜる。

2. Once the milk has curdled, stir in the oil and vanilla exact. Whisk it well to combine. Slowly add the wet ingredients to the dry ingredients, stirring it until all the ingredients come together. * do not over mix it otherwise you won’t get fluffy cupcakes.
2. 豆乳がとろりとしたらオイルとバニラエッセンスを加え混ぜる。混ぜ合わさったら小麦粉のボールにゆっくりと加える混ぜる(フワっとしなくなるのであまり混ぜ合わせすぎない様に)

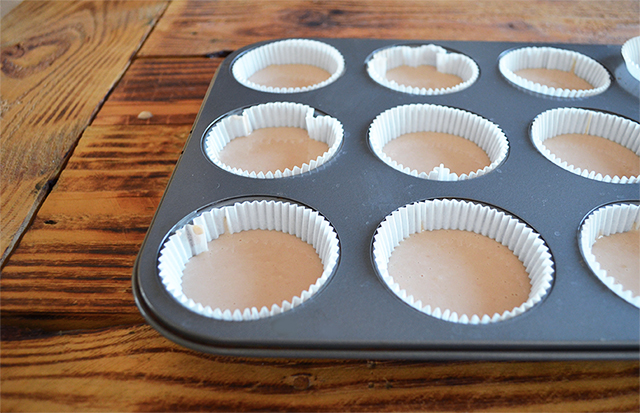
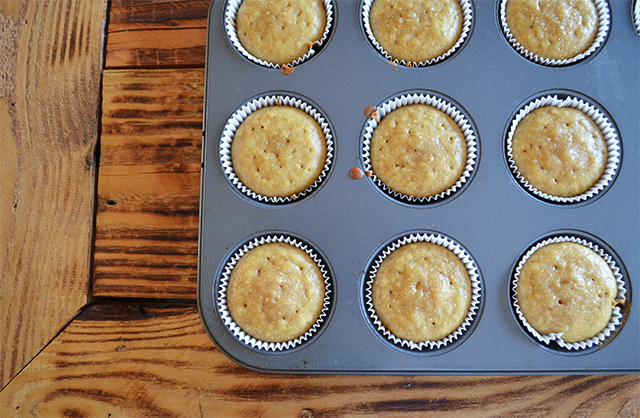
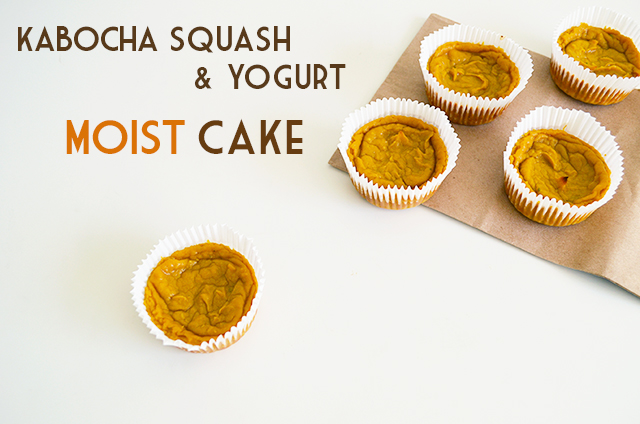
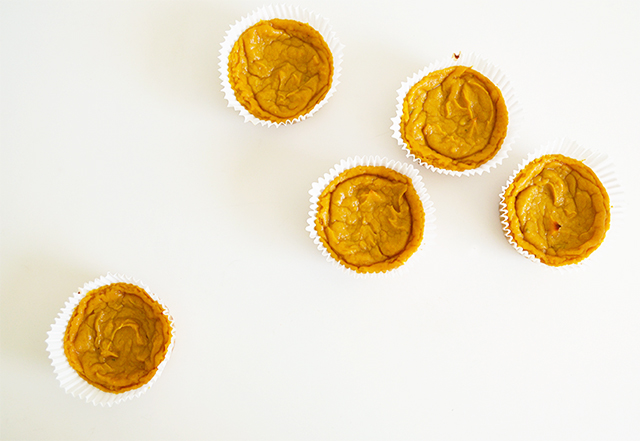
3. Fill each muffin tin. Bake it for about 15-20 minutes or until a toothpiik inserted in the middle of the cupcake comes out clean.
3. カップケーキ型に流し入れ、15~20分焼く。楊枝を刺して中身が付いて来なくなったら出来上がり。

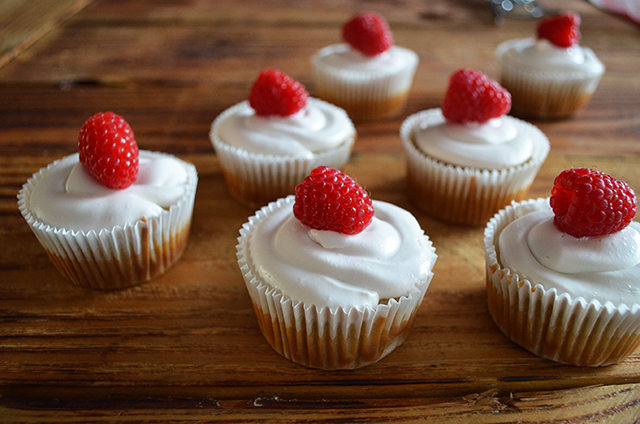
4. Let it cool completely before you can decorate it. * I used this soy whip cream and raspberries.
4. 完全に冷えてからトッピングをする。*私はこのソイホイップとラスベリーで飾り付けしました

  人気ブログランキングへにほんブログ村 ファッションブログ トレンド情報(ファッション)へ

Thank you so much for your support :)

kabocha squash & yogurt cake – no butter, no egg

Halloween is around the corner and I start seeing pumpkin products everywhere. Kabocha squash is very popular vegetable in Japan (Kabocha is a japanese pumpkin) and one of my favorites especially during the cold season. So I decided to make simple moist cake from scratch. Because these are very healthy, you can decorate with anything, like whipped cream frosting without guilt for Halloween! Mine is vegan and dairy-free as I used soy yogurt.

Ingredients : 1 cup kabocha squash, 1 cup strained yogurt, 3 tablespoon sugar, 3 tablespoon unbleached flour   * How to make strained yogurt here

気づけばもうすぐハロウィーン。大好きなカボチャの季節になってきたので、ヨーグルトを使ってケーキを作ってみました。今回はデコレーションしなかったけどとてもヘルシーなので上に生クリーム等でハロウィーン使用にしても◎と思います。ケーキと言ってもとってもしっとりで冷やして食べても美味しくできました。

材料 : カボチャ 1カップ、水切りヨーグルト 1カップ、砂糖 大さじ3、小麦粉 大さじ3
* 水切りヨーグルト作り方はここに色々載ってました
1. Cut the squash in half and scoop out all the seeds. Peel the outer skin and cut the squash into small pieces. Steam or microwave them until tender. Process the food processor until the pumpkins are pureed.
1. カボチャの種とワタを取った後、皮を切り茹でるかレンジ等で柔らかくしてフードプロセッサーに入れペースト状にする
2. Transfer processed kabocha into a large bowl and add Strained yogurt, flour and sugar. Mix well
2. ボールに移し、他の材料(水切りヨーグルト、小麦粉とお砂糖)を加え混ぜる

3. Using a spoon, fill each cupcake liners. Bake at 330F for about 45 minutes, until a toothpick comes out clean.
3. カップに入れて170度のオーブンで45分程焼く。楊枝等刺して何もついてこなければ完成

Thank you so much for your support :)